


Well we just picked up a 2019 KTM 150SX and figured I may as well create a build thread! I love the 150 as it is the ultimate play bike (well in my opinion), so why not go all out with it? And we have A LOT planned for this bike. I’ll be posting up all the various aftermarket parts we add, modifications we make, details of the design/manufacturing processes of our own parts we use, as well as miscellaneous details and reasoning for why we’re doing what we’re doing. There’s a lot to do, and we’re busy as-is, so there may be some delay between posts and it this will take a few months, but the end result should be awesome!
Initial Plans:
Nearly everything on this bike will be replaced and/or modified in some way. We’ll be starting with a complete strip down, welding tabs on the chassis for a steering damper and glide plate, powder coating, transmission work, Cerakote throughout, complete rework of the suspension, etc. Having done a lot of work and riding on the previous generation 150SX (you can see it in the picture below), I learned a lot about these bikes so I have a pretty good idea of what I want to do with this one!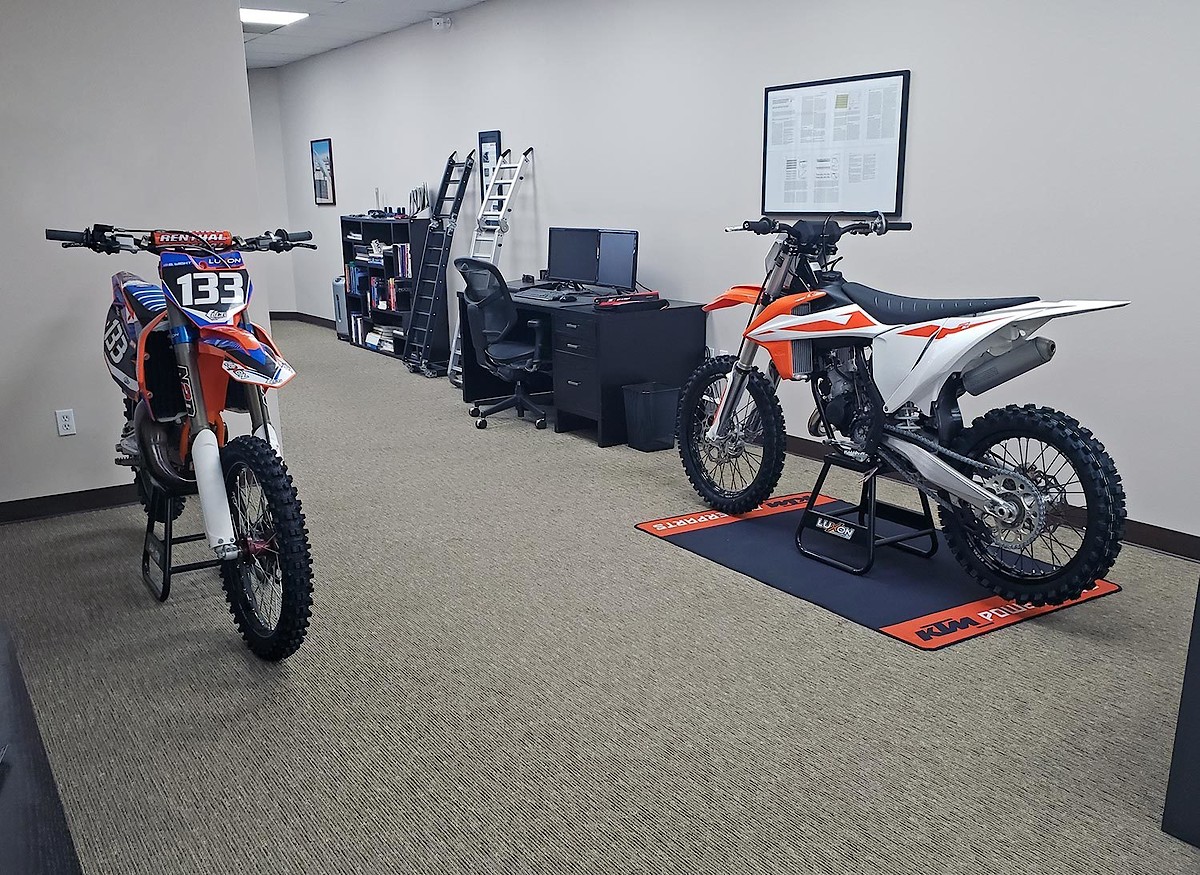
The first thing I wanted to do was get a baseline weight for the stock bike. We used two shipping scales with reasonable accuracy and precision to get a “ready to ride” weight – all fluids and a full tank of gas. The stock bike is pretty bare-bones, so we’ll definitely be adding weight along the way with a glide plate, steering damper, spring forks, and other changes, but I want to document each change/addition to understand how much weight was added and to where.
And the nice thing about weighing the bike using two scales is that we can also measure where the center of gravity, or CG location is (sometimes referred to as the center of mass). With two scales and a level bike we know the lateral (front to back) CG location. Then raising up one end of the bike and weighing it again you can calculate the CG height knowing the angle change, the weight difference, the wheelbase, and some basic math. I’m ignoring the lateral (side to side) CG location here as the bike is mostly symmetric and is should be more or less in the middle laterally. There’s certainly some error in the CG location calculations – the scale accuracy/precision, accuracy of angular and distance measurements, compression of the suspension/tyres, etc., but it should give us a good idea of where the CG is within a few millimeters. I calculated the CG height with both the front wheel raised and the rear wheel raised, and the results were within a couple mm of each other. I took the average of the two.
The CG is important as it is the point where the bike can be represented as a simplified point mass in analysis. For example, if you’re jumping through the air, the bike will rotate about its CG location (slightly more complex when you account for the rider and their CG location as well). How easily it rotates is a whole separate issue and is dependent on the overall moment of inertia of the bike (how the mass is distributed relative to the CG location) as well as the rotational inertia of the wheels and engine. Measuring the moment of inertia of the bike is considerable effort and to do it correctly would require a lot of time and money in building a fixture, so we’re skipping that one! Another measure of interest is the unsprung weight, and we’ll touch on that when we’re changing out suspension and wheels.
There’s a lot of talk about weight and how a bike “feels”. A few people even state that a bike doesn’t “feel” heavy, so it doesn’t matter what the scale says. But the problem with that statement is the “feel” doesn’t change physics! They are likely feeling that the bike is light because it has a well centralized CG location and a relatively low moment of inertia which will make it easier to throw around. But the scale weight makes a big difference when accelerating the bike, getting on the brakes, or changing direction. In those cases, “feel” is trumped by weight. This is obvious if you ride an Alta. The bike is really heavy, but that weight is well centralized since there is no intake, exhaust, etc. It feels light in the air and you can flick it around, but come into a corner hot and you’ll see the effects of scale weight when you try to slow down. I raced REM a couple months back; first moto on the 150 and second moto on the Alta. It was an enormous difference!
Here’s a screenshot of the spreadsheet I’m using to track everything. If you look close at the image you can see the CG location represented by a blue/white dot just above the clutch cover, which is about where you might expect it. The location is pretty neutral – near the center of the bike. And you can see we’ve already saved 3 grams by removing the warning stickers.
The Shop
Today I started tearing everything down. First priority is welding on the HPSD mount and glide plate mounts, then getting the frame stripped and re-coated.
What color on the frame?
Pit Row
It comes out just the same as the old ones once you have to tool sorted out. I used a screwdriver up top to get some leverage as it's in there pretty tight. Once you get it loose it comes right out. We're probably going to go with a MotoHose replacement piece and they include the tool with their T-piece so that's one less thing to worry about, I just wanted to get this thing out now so we can move on with the rest of the chassis mods.
Next I wanted to test out the paint stripper I bought. I'm installing a HPSD bracket, so I just tested a couple spots: one at the head-tube where the bracket will weld on and another spot on the down-tube. I'd read that the stripper works best if the finish has been roughed up, so I tried that on the head-tube. I also tried stripper on the other spot without roughing it up for comparison.
As you can see, the area that was roughed up came off really easily. The other spot that wasn't roughed up didn't come off nearly as easy, but wasn't that bad:
That's it for now, hope to make some more progress this weekend!
Post a reply to: Luxon MX KTM 150SX Build - Engine assembly, Airbox mods